A Stitch in Time, Saves Nine
According to Wiktionary (Wordnik) - this “idiom” is used to convey these sentiments:
A little effort expended sooner to fix a small problem, prevents it from becoming a larger problem requiring more effort to fix later; A little preparation can eliminate the need for repairs later; consistency (achieving a set rhythm) is better than trying to rush ahead.
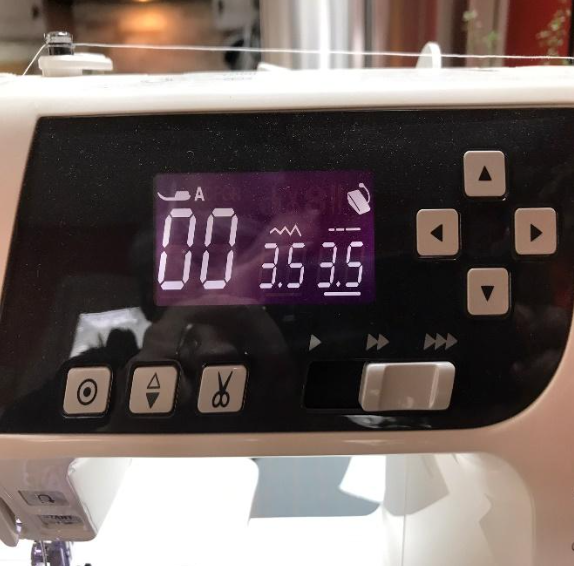
Before charging headlong into sewing the squares together, you should take the time to make sure you’re using the right stitch length on your machine.
The stitch length you select should be determined project to project specifically for the thickness and nap of the fabrics you’re using. You want a stitch that will create a strong seam to connect the two layers of fabric. The stitch should not be so long that it’s sloppy and loose, but not so small that it will cause puckering and bind in the fur. Here are the settings that I settled on. Use a sample of the two fabrics together and test different stitch lengths until you find one you’re satisfied with. I can’t give you any exact numbers because machines are all so different. You might want to write this down somewhere so you won’t forget it. If your machine is like mine, when you shut it off at the end of a working session and then turn it on again the next time you’re working on this project, the machine will revert to a standard setting - not the ones you have determined are best for this project.
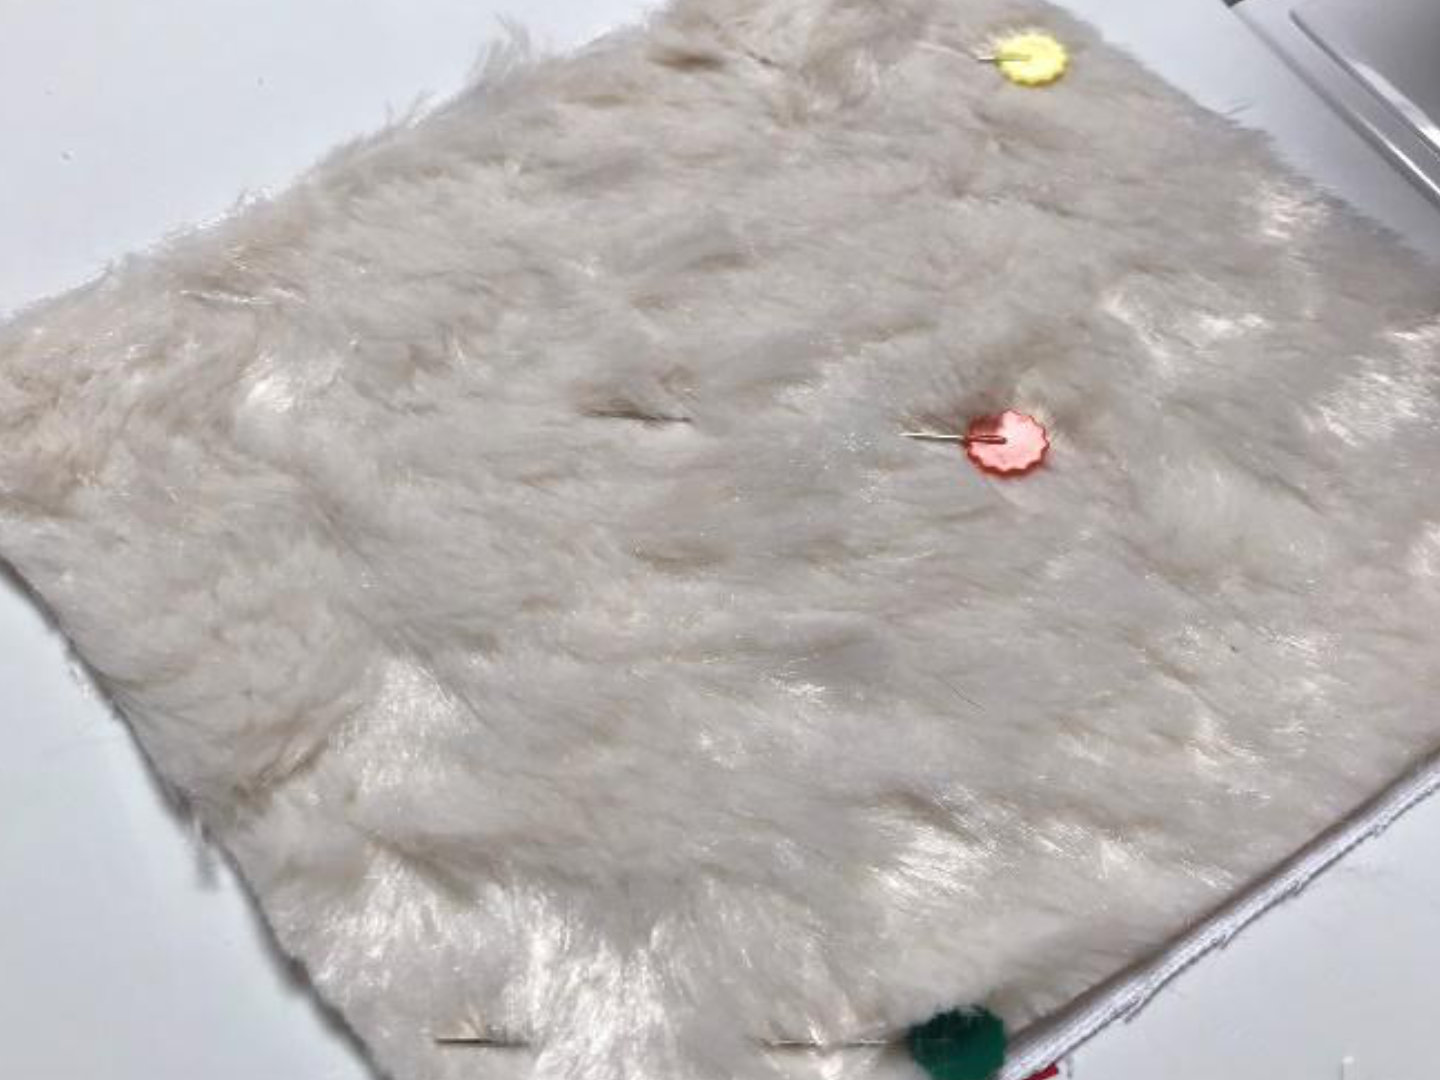
Pin the two layers of fabric squares together, wrong sides to each other. Remember, this project does not call for any “batting” or layer of filling between the denim twill and the fur. The weight and feel of this lap throw is created simply by the thickness of the two fabrics sewn directly to one another. It is also not a standard sewing construction that would call for the fabrics to be sewn together right sides facing each other and then have to be turned right side out.
Next you will sew diagonally across the square, corner to corner. I am stitching on the fur face of the square. I found that the feed dogs on the sewing machine grip better on the denim twill fabric and move the piece more smoothly under the presser foot. This gives me a more even stitch line. Some of the length of the “nap” of the fur will get caught under the stitches. Don’t worry about this. The fur will work its way out and around the stitching as you work on the piece and certainly by the time you do the washing and drying at the end of the construction process.
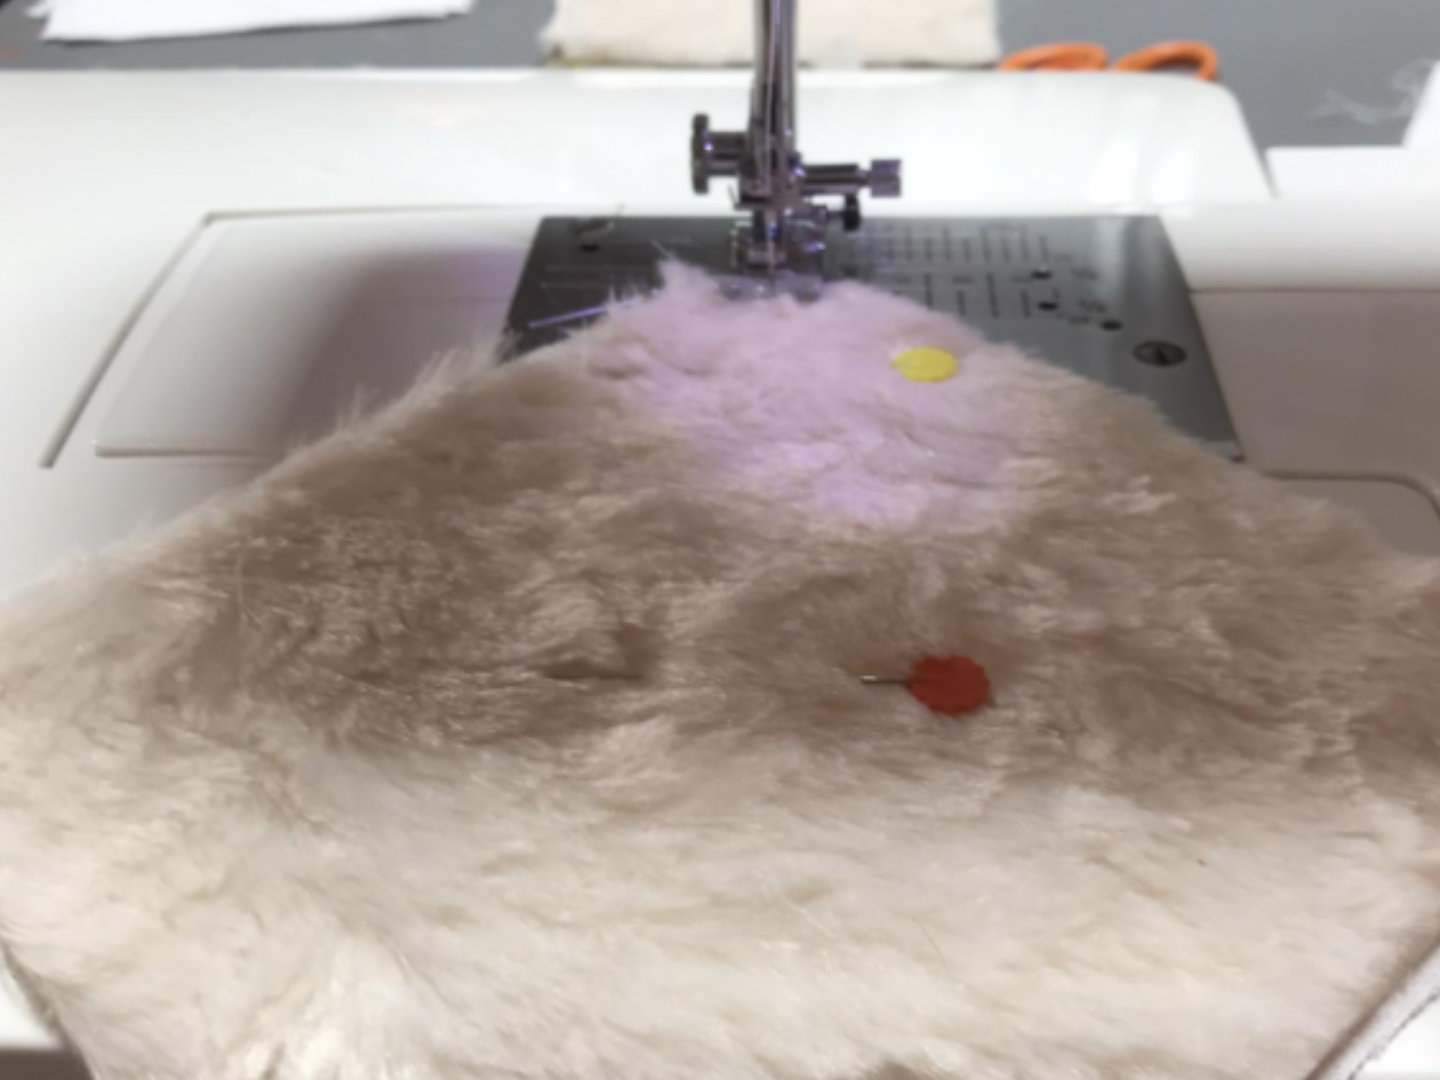
True confessions, I do sometimes sew over pins! However, if you are new to sewing or are a hasty seamstress - DON’T DO IT! You’re just asking for bent needles and other harm to your machine. Pinning is another one of the critical craftsmanship techniques I employ in my sewing projects. It keeps the layers securely together, exactly where you want them as you progress along a seam line. But it’s best to pull the pins out and stick them into a magnetic tray or pincushion as you complete a seam.
After completing one diagonal pass across the square, turn the piece 90 degrees and sew across the other diagonal, corner to corner.
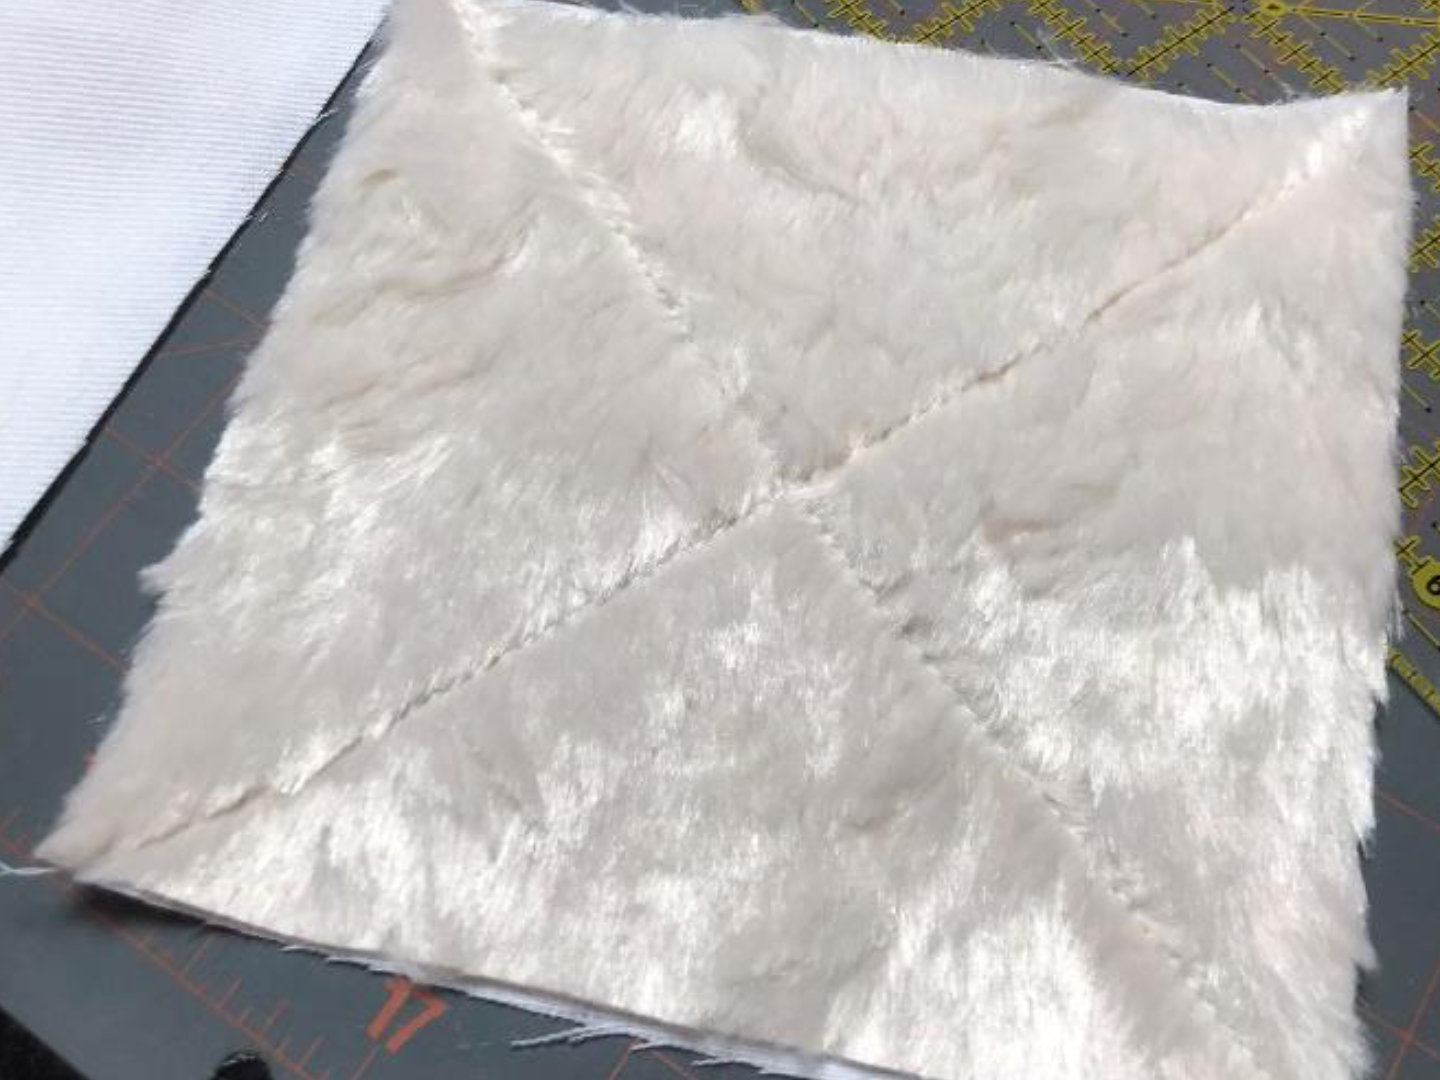
There you have a completed square!
Now repeat this process 120 times!
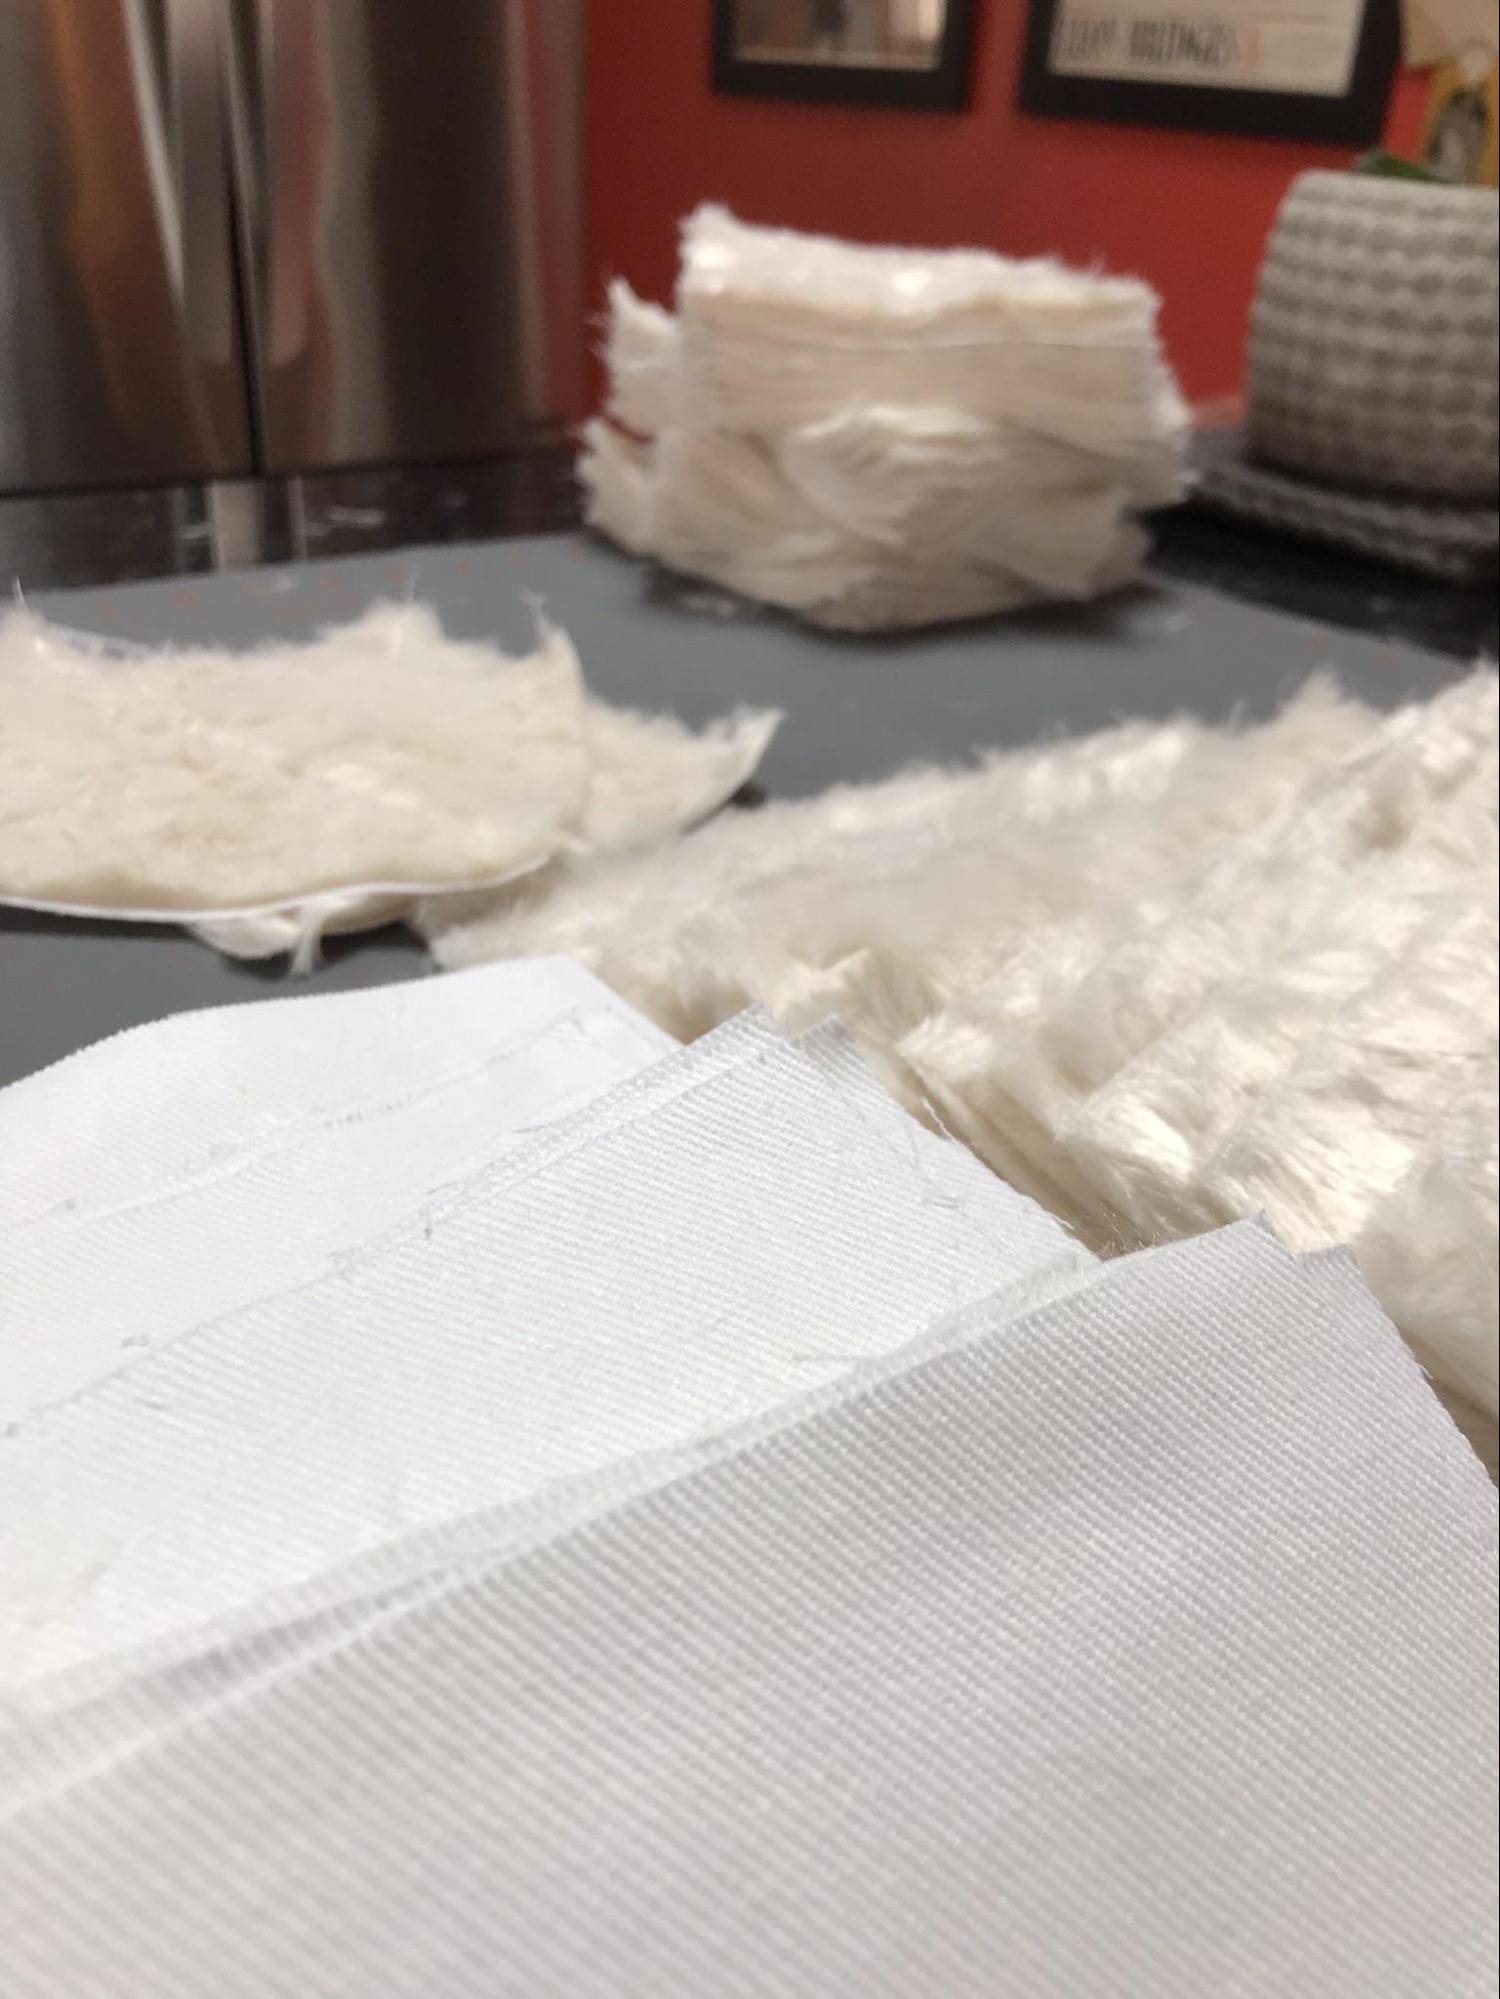
Here are my completed squares in the background, stacked in groups of 10. I like the visual satisfaction of seeing my work “stack up” AND by dividing them in stacks of 10 I know how many are done and how many are still to go!